
Main Index
7. Natla's Office
8. St Francis's Folly
9. Colosseum
10. Palace Midas
11. The Cistern
12. Tomb of Tihocan
13. A Vision
14. City of Khamoon
15. Obelisk of Khamoon

The walls are cold and grey, there are rats running around down here. Lara drops down and kills some rats before entering a large open space.
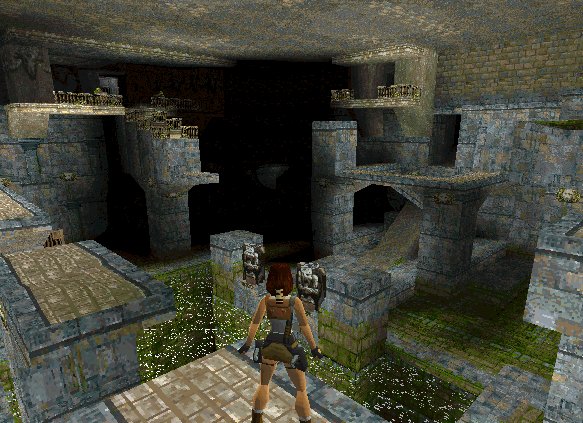
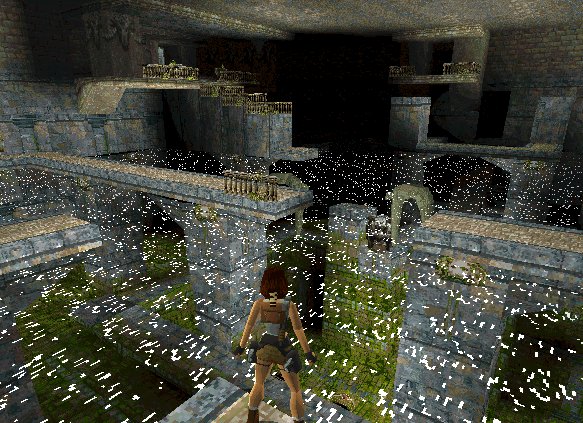
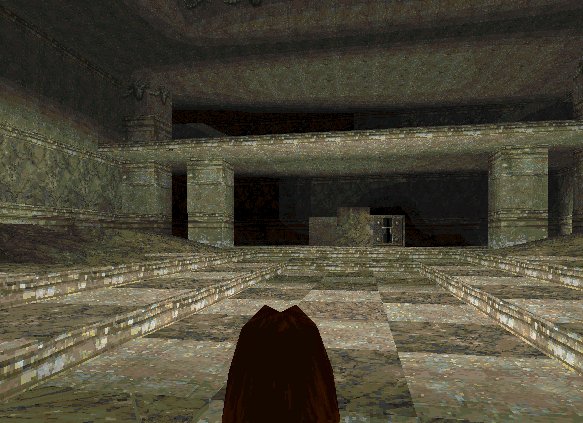
The cistern, broken bridges and the smell of decay are all around. Lara decides to head for the high balcony on the right...
...once she gets there Lara looks at the room from another angle. Opposite are 2 doors which require keys.
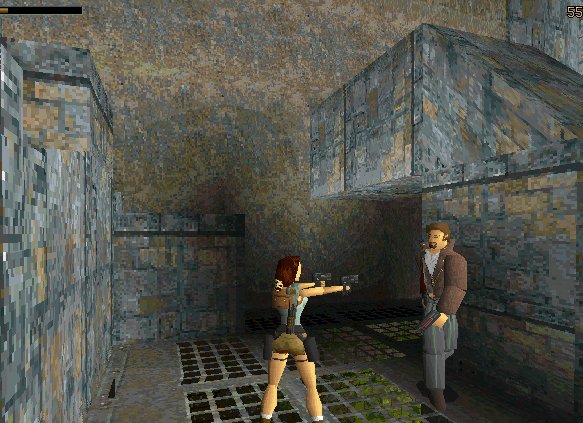
While exploring Pierre reappears and starts firing. Lara uses her Magnums and the blocks as cover. After a short shoot-out Pierre runs off.
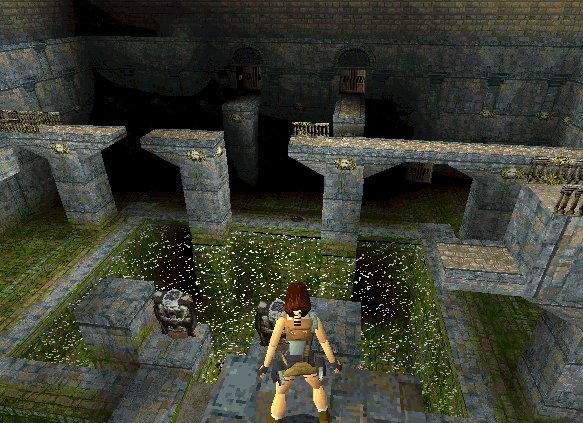
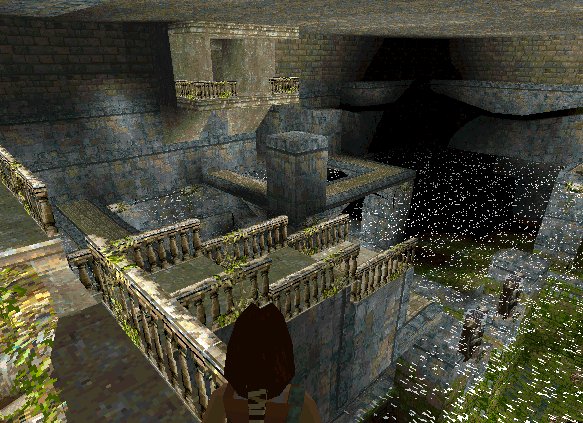
Lara jumps into the hole below and retrieves the first of 2 rusty keys. Lara uses the switch on the wall to flood the main chamber.
The water level rises high. Lara goes to the left around the outside and gets the second rusty key. She can reach the 2 doors opposite easily now.
She enters the left door and climbs high onto these tiers, avoiding gorillas and another showdown with Pierre.
Further on and more crocodiles to contend with. She throws the switch in the alcove and goes through the door there to find a silver key. Then its back to the main room.
With the silver key and the gold key safely in her rucksack Lara climbs onto the ornate balcony. At the back the silver key opens a door...
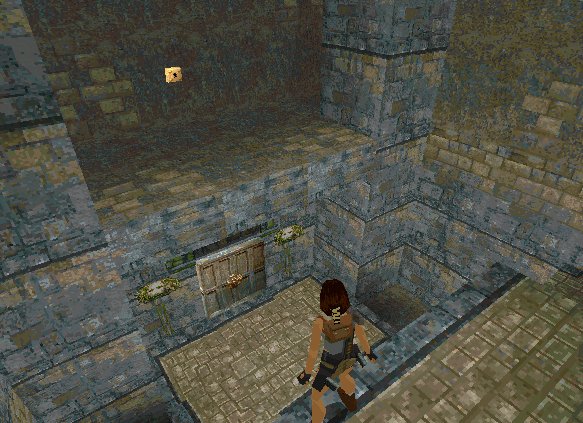
...to find a gold lock. She uses the gold key and the door underneath opens.
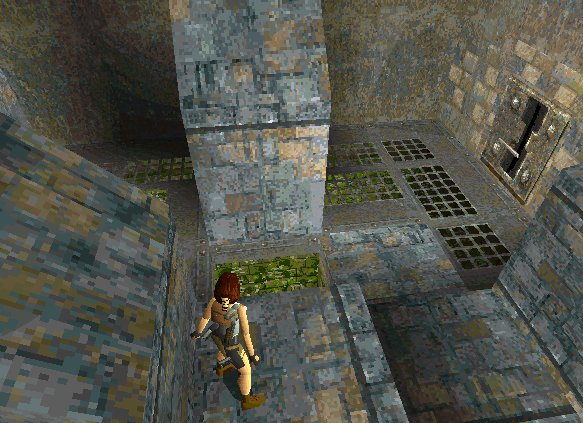
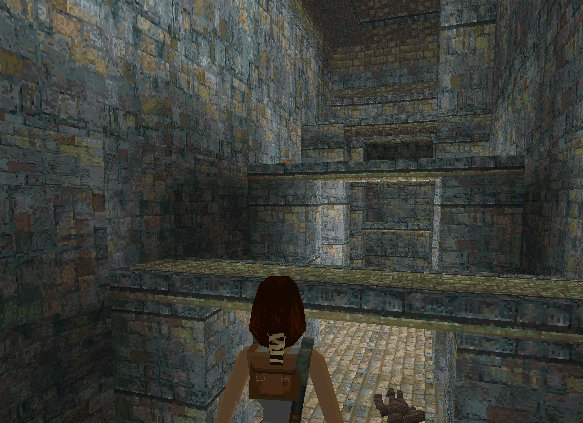
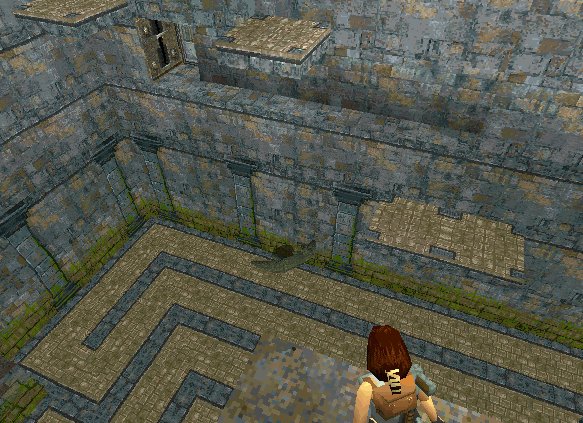
The room has a chequerboard effect floor, upon closer inspection she notices that some of the floor tiles will break.
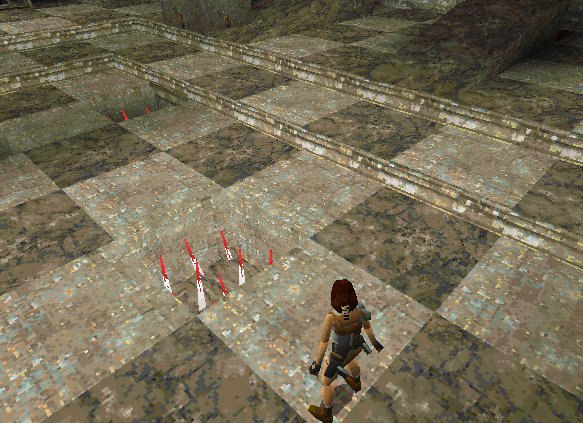
Underneath deadly spikes wait to impale her. At the far end Lara moves a block and drops into the hole. She lands in the water below and is swept to the next level.